How to Install a Dometic CSX Series Cold Machine
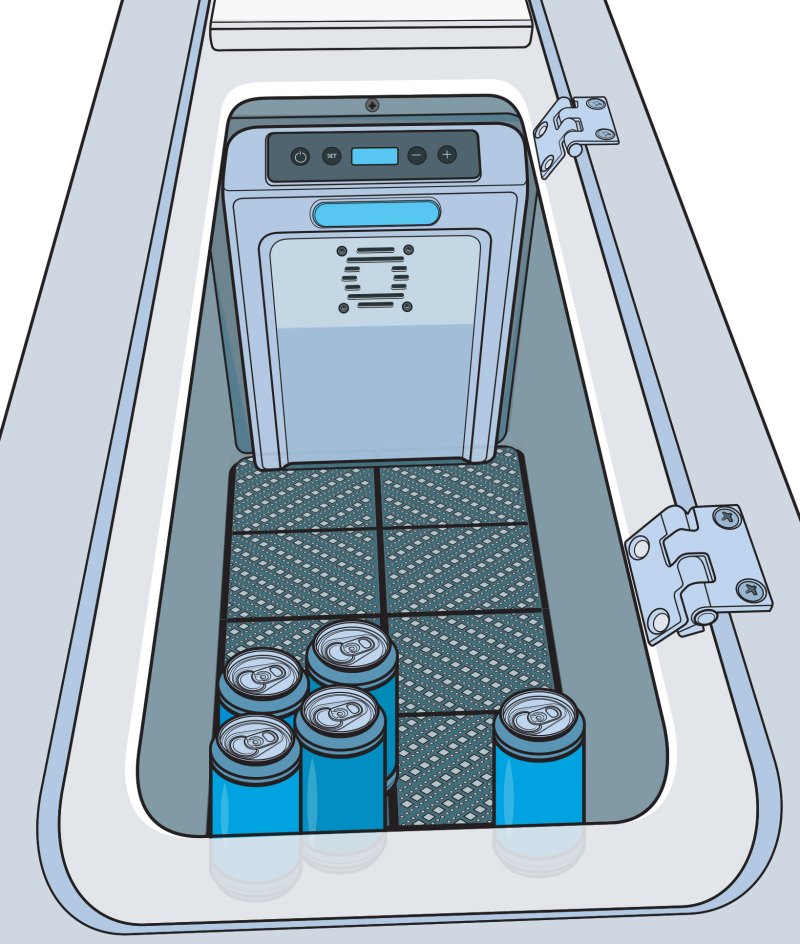 The Dometic CSX Series Cold Machine can turn an insulated locker into a refrigerated compartment.
Jim Hatch
The Dometic CSX Series Cold Machine can turn an insulated locker into a refrigerated compartment.
Jim Hatch
A marine refrigerator serves as great way to keep refreshments cold and prevent perishable provisions from spoiling. Yet, some boats might not have room for a conventional onboard refrigerator. A cooler full of ice is the next best choice, but now there is another option.
Dometic’s award-winning line of compact CSX Series Cold Machines can turn an insulated locker into a refrigerated compartment. Installing the compact, self-contained Cold Machine is a simple drop-in DIY project. It uses 12- or 24-volt DC power, and there are no refrigeration lines or couplers needed.
For this project, we chose to install the Dometic CSX 200—the most compact and lightweight of the Cold Machines—inside the built-in insulated cooler aboard a 25-foot Sea Fox boat.
The CSX 200 can reliably refrigerate compartments as large as 7 cubic feet—more than enough for this locker. The electronic thermostat can be set to temperatures as cold as 32 degrees F. Yet the power draw is just 5 amps when operating on 12 volts. The CSX 200 also has an LED light to illuminate the compartment. Here’s how the project went for us.
Skill Level: 3 of 5
Finish Time: Approx. 4-5 hours
Tools and Supplies- Dometic CSX 200 Series Cold Machine ($934.99; sierraparts.com)
- Tape measure
- Thin cardboard (for making a template)
- Scissors, razor cutter and hole punch (for creating a template)
- Marker or pencil
- Masking tape (to secure template)
- Power jigsaw
- Power drill and drill-bit set
- Phillips screwdriver
- Marine sealant
- Marine wire and breaker
- Spade and ring terminal connectors with heat-shrink collars
- Heat gun
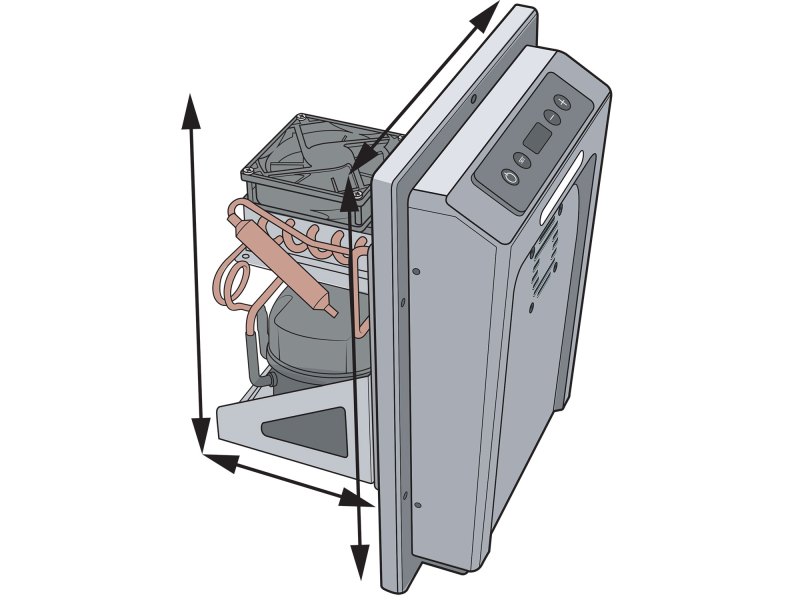 Compare the overall dimensions of the CSX 200 with interior dimensions of the compartment you have in mind.
Jim Hatch
Measure to Fit
Compare the overall dimensions of the CSX 200 with interior dimensions of the compartment you have in mind.
Jim Hatch
Measure to Fit
Compare the overall dimensions of the CSX 200—including the required cutout, surface area for the face of the unit, and depth needed behind the face plate—with interior dimensions of the compartment you have in mind. The CSX 200 overall measures 10.12 inches wide by 13.78 inches high by 8.86 inches deep. It requires about 5.75 inches of depth behind the mounting surface, with a cutout of 8.03 inches wide by 8.27 inches high.
Tip: Make sure the opening of the compartment is big enough to allow the CSX 200 to fit inside. You might need to remove the hatch lid to fit the unit through the opening.
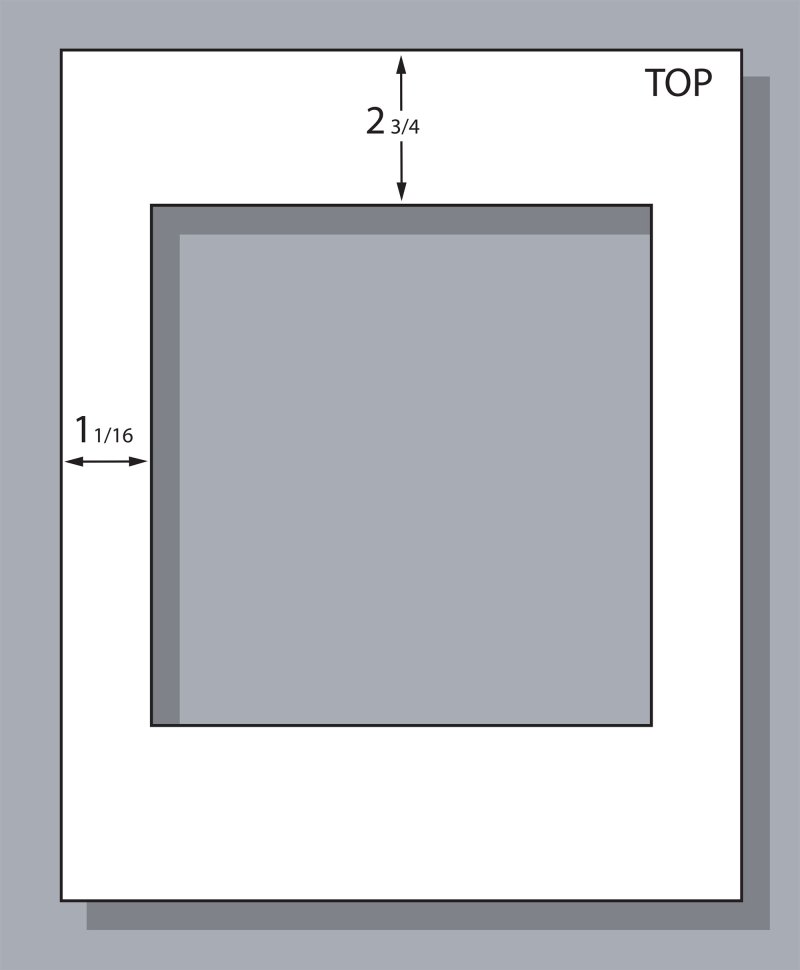 Using a template will help ensure a clean installation.
Jim Hatch
Template for Cutout
Using a template will help ensure a clean installation.
Jim Hatch
Template for Cutout
Our CSX 200 did not include a template for the cutout at the time, but future kits will. We needed to make our own using a thin piece of cardboard, trimming it to the outline of the face plate and punching holes for each of the mounting screws. We marked within that template the cutout and used a razor to slice the cardboard away to show the cutout. We taped the template in position and traced the outline on the mounting wall.
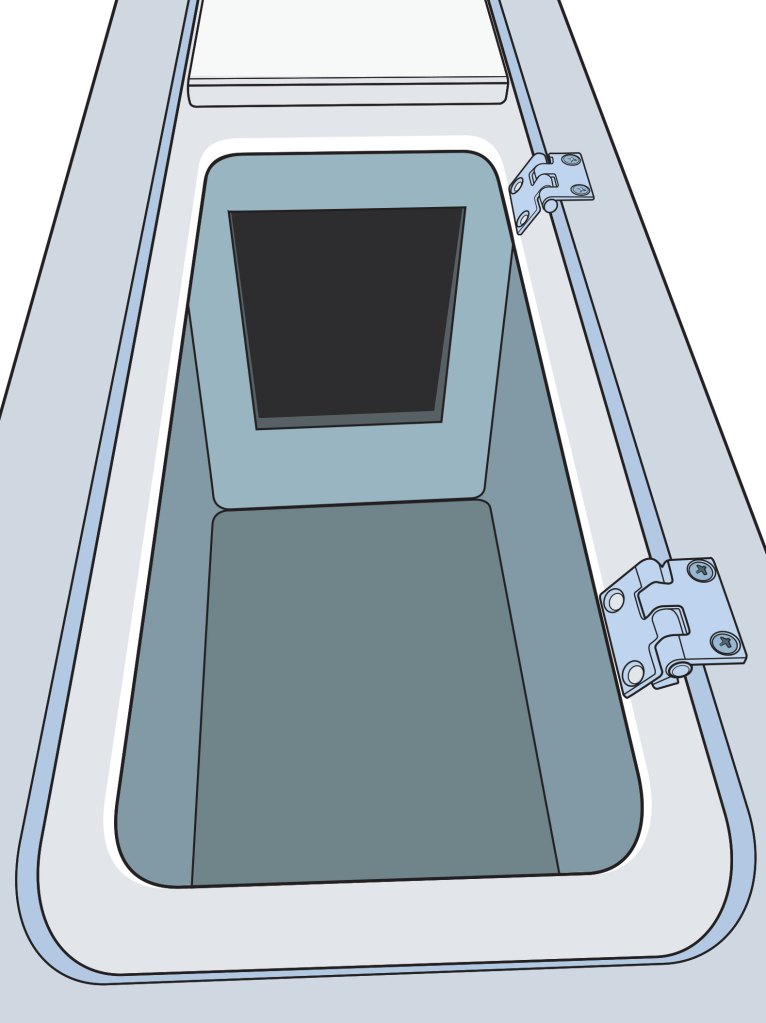 Make sure no wires, hoses or other objects might be damaged when creating the cutout for the CSX 200.
Jim Hatch
Make the Cutout
Make sure no wires, hoses or other objects might be damaged when creating the cutout for the CSX 200.
Jim Hatch
Make the Cutout
Ensure that no wires, hoses or other objects on the backside will be damaged by sawing or drilling. Drill a 1/2-inch hole in the inside of each corner of the cutout outline and make the 8.03-inch-wide-by-8.27-inch-high hole with a jigsaw. Dry fit the CSX 200 to ensure the equipment fits through, then remove the unit and drill the holes for the six supplied mounting screws, chamfering each hole to help prevent chipping of the gelcoat finish.
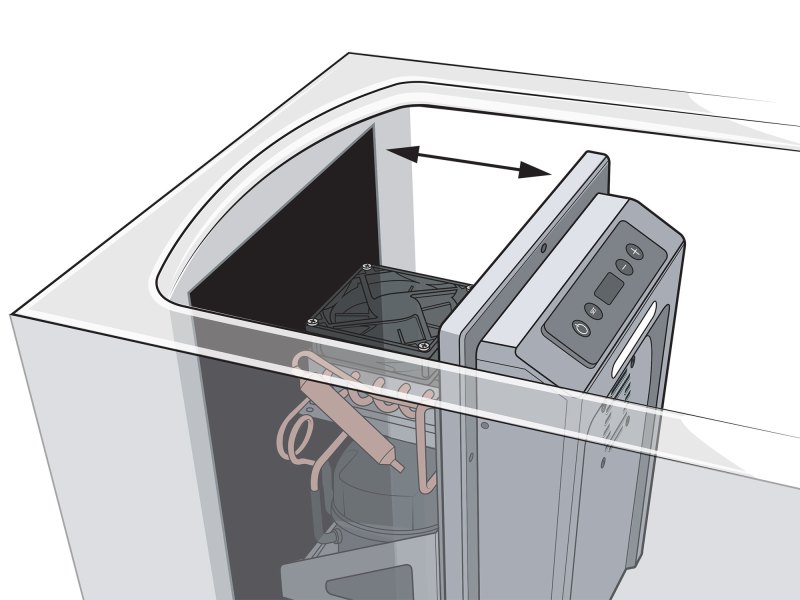 Carefully place the CSX 200 into position inside the locker, and drive in the supplied mount screws.
Jim Hatch
Install the CSX
Carefully place the CSX 200 into position inside the locker, and drive in the supplied mount screws.
Jim Hatch
Install the CSX
Bed the outline of the mounting surface for the CSX unit and the six screw holes with a marine sealant. If possible, also lay down a bead of marine sealant on the edge of the backside of the cutout. Then carefully place the CSX 200 into position inside the locker, and drive in the supplied mount screws. Avoid over-tightening the mounting screws to help prevent cracking the plastic framework of the CSX 200 face plate.
Tip: Ensure that the area behind the mounting wall is relatively dry to maximize the service life of the CSX 200. You might have to cut away foam insulation to allow enough depth for the unit to fit.
Read Next: Dometic Recon Coolers
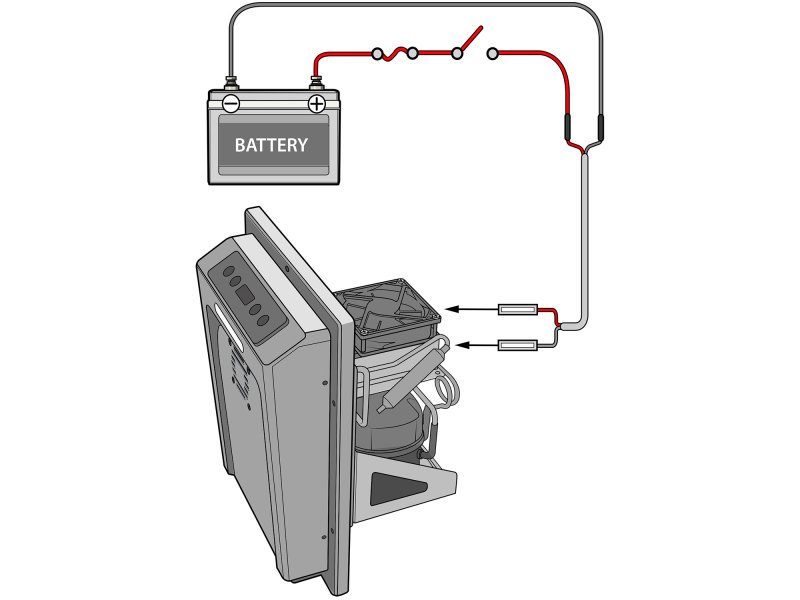 Proper wiring will keep the CSX 200 running smoothly.
Jim Hatch
Connect to Power
Proper wiring will keep the CSX 200 running smoothly.
Jim Hatch
Connect to Power
We ran a red positive 10-gauge marine wire from the house battery to a breaker switch and then to the back of the CSX 200. We routed a black positive 10-gauge wire from a common-ground bus bar to the back of the CSX 200. We crimped female spade connectors with heat-shrink collars to both wires, applied a heat gun to shrink the collars. We slid the spade connectors on the appropriate male terminals on the back of the CSX 200.
Tip: It’s important to have the correct wire size and breaker rating. To calculate this for your installation, visit circuitwizard.bluesea.com.
The post How to Install a Dometic CSX Series Cold Machine appeared first on Boating Mag.