DIY Tips for Repairing Nonskid
 Hone your skills on smaller projects first.
Courtesy Ralph Naranjo
Hone your skills on smaller projects first.
Courtesy Ralph Naranjo
For many cruisers, safer sailing resides in the can—at least when the can contains a nonskid coating. It’s a sure cure to banana-peel-slick decks. Fortunately, such surfaces can be rejuvenated by an experienced do-it-yourselfer.
In most cases, nonskid patterns are molded into a fiberglass sailboat’s deck. Over the years, these surfaces degrade. As the crazed, oxidized gelcoat becomes more porous, its effectiveness as a water barrier also decreases.
Recoating a fiberglass deck with a nonskid paint is a lot easier than repainting the shiny topsides. First of all, decks are relatively flat, while topsides are much more susceptible to paint hangs and sags. Refinished topsides are expected to gleam like the side panels of a Ferrari, while nonskid coatings are neither ultrasmooth nor automotive-glossy. The perfection bar is lower.
What is vital, however, is a thorough understanding of the paint system you are going to use, and strict adherence to the manufacturer’s guidelines.
The process begins with a degreasing and a washdown with a stiff-bristle scrub brush. This should be a true workout. The goal is to remove the detritus that’s been ground into the surface over the years.
 This section of nonskid has been epoxy-primed, followed by two coats of nonskid paint.
Courtesy Ralph Naranjo
This section of nonskid has been epoxy-primed, followed by two coats of nonskid paint.
Courtesy Ralph Naranjo
When everything is dry again, scuff-sand the surface with 80-grit sandpaper. A vacuum-linked random orbital sander is ideal for the job. The objective is to scuff up a well-adhered substrate. There’s no need to remove the textured gelcoat as long as it is intact. If it’s failing here or there, it might be necessary to remove some or all of the textured gelcoat using heavier 50- or 36-grit sanding discs. This is a task for those with more experience, and with vacuum dust-collection equipment.
Options for new nonskid coatings include single- and two-part paint systems. The former streamlines the process. The latter involves a two-part epoxy primer and a two-part linear polyurethane topcoat. In both cases, the finish coat is laced with a specific grade of mineral grit or with plastic microspheres to texture the surface.
Most approaches utilize a primer and topcoat protocol. And the old wisdom of building a strong foundation holds true. When it comes to primers, nothing beats the durability of a two-part epoxy. Awlgrip 545 has earned a following among pros, but I’ve also come to appreciate how well Interlux’s 404/414 Primekote has stood the test of time. A decade after I applied a two-part linear polyurethane nonskid topcoat over the 404/414 primer, the texture had diminished, but the adhesive tenacity of the epoxy underlayer remained intact. This made repainting for the next decade easier than ever.
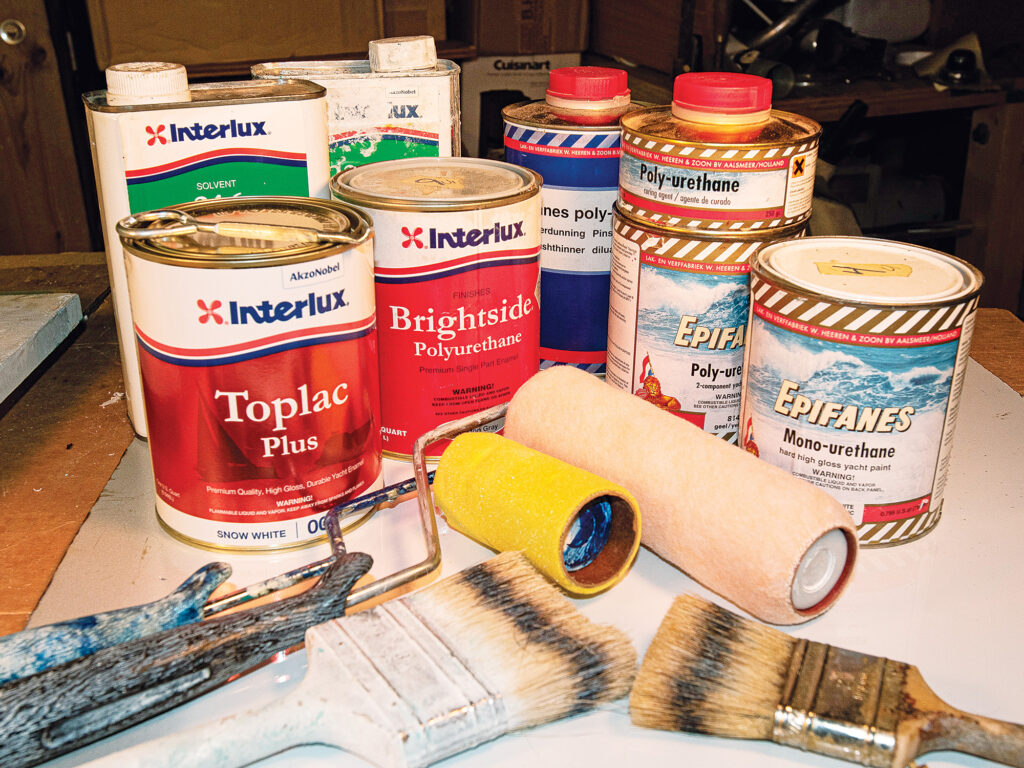 Pick your product lineup from a single source.
Courtesy Ralph Naranjo
Pick your product lineup from a single source.
Courtesy Ralph Naranjo
Single-part paints also have significantly evolved in terms of easy handling and longevity. I had painted the cockpit sole of my sloop, Wind Shadow, with Interlux’s single-part Brightside, and the deck on a Cape Dory Typhoon with Pettit’s EZ Poxy. Both were over a two-part epoxy primer. After five years, the coatings remained well-adhered, and there was still some Topsider-grabbing grit left in the paint. I recently applied some of Interlux’s Toplac Plus over the single-part primer Pre-Kote Plus, and I found the comb easy to handle.
When it comes to additives, I favor Awlgrip’s Griptex and Interlux’s Intergrip. I prefer a foam roller (West System 800) and a bristle brush, along with a homemade extra-large shaker to dust the surface with additional grit. This light dusting will leave some microspheres poorly immersed in paint. After a couple of days of curing, hose down the deck and scrub away the excess grit. The poorly adhered material will wash away, leaving an evenly coated, excellent nonskid deck.
Prior to primer application, do a final dust-off, and mask the boundary that delineates the end of the nonskid area. Use a good-quality masking tape such as 3M 233+. It’s a solvent-resistant, highly adhesive tape that leaves no residue. Put on a pair of kneepads, bring along a cotton dust cloth, and have a single-edge razor blade to cut the tape. Work around stanchions, hardware and other tight corners. Once the tape is in place, do a secondary press to make sure the tape is adhered to the surrounding smooth gelcoat.
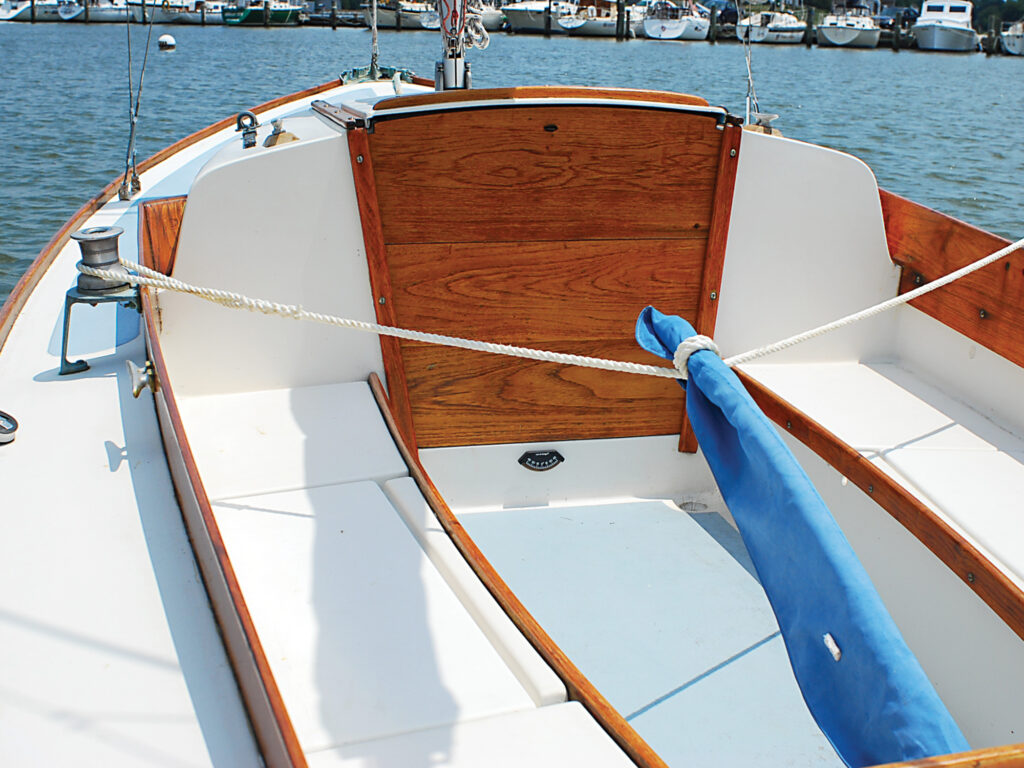
 Well-textured nonskid, a handhold and a tether are the trifecta of offshore safety.
Courtesy Ralph Naranjo
Well-textured nonskid, a handhold and a tether are the trifecta of offshore safety.
Courtesy Ralph Naranjo
Painting the nonskid portion of a sailboat’s deck doesn’t necessarily mean tackling every bit of the job at once. Start with a small area, such as the cockpit sole. Sample products and procedures. Build the skills you’ll need, and then decide what’s next.
Nonskid ManufacturersPaint manufacturers have come up with some interesting approaches to creating nonslip surfaces on sailboats. Each of these has websites with training videos. Stick with one manufacturer’s product lineup, and follow the mixing and application guidelines.
Interlux’s new single-part silicone alkyd Toplac Plus and the microsphere additive Intergrip are easy to apply. They create a durable nonskid finish that teams up with Pre-Kote Plus primer or two-part Epoxy Primekote.
Pettit Paint’s Tuff Coat is a water-based, rubberized nonskid that requires surface preparation. Prior to the final washing, Surface Prep 92 is applied. After sanding, Tuff Coat primer is applied. After that’s cured, two coats of Tuff Coat are spread using a Pettit roller.
Epifanes offers premixed Nonskid Deckcoating that is a blend of single-part mono-urethane topside paint and polypropylene bead traction additive. The latter is also marketed independently for use with two-part topcoat products.
The post DIY Tips for Repairing Nonskid appeared first on Cruising World.